Managing the Host List
![]() Forced Polling All Host Sensors
Forced Polling All Host Sensors
To add a new group:
1. Open the context menu for the host list and then select the Add Group item.
2. In the window that appears, enter a name for the new group. Click ОК.
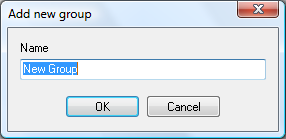
The new group is created at the root of the host tree.
To add a subgroup:
1. Select a group on the host list.2. Open the context menu and then select the Add Subgroup item.
3. In the window that appears, enter a new group name. Click ОК.
The new group will be created in the selected group.
To rename a group:
1. Select the group to be renamed on the host list.2. Open the context menu and then select Rename group item.
3. In window that appears, enter a new group name. Click ОК.
The name of the group on the tree will be replaced with the value you have entered.
To delete a group:
1. Select the group on the host list you want to delete.
2. Open the context menu, select the Delete group item. Confirm the action by clicking Yes on the prompt that appears.
The selected group will be deleted from the tree. All subgroups and hosts with checks included in it will be deleted as well. Changes are saved to the file immediately.
To add a new host to the monitoring list:
1. Select a group in the host list.
2. Open the context menu and then select the Add host item.
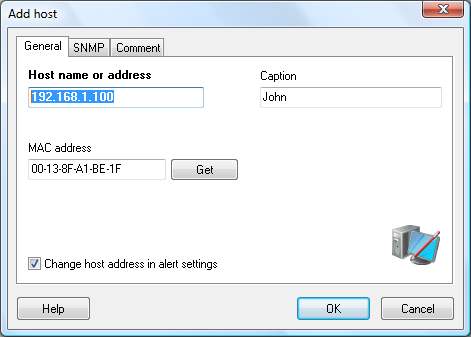
3. In the window that appears, enter the required parameters. A mandatory property is the Host name or address.
Host properties:
Host Name or Address
This is a network name of the host or its IP address. The value of this field is the starting point for all network functions of the program. The program accesses hosts using the address you specify in this field.Caption
By default, the host name or address is used as the host caption. You can change the caption into any text you need. The caption will be displayed in the host list, in tables, on charts, etc.MAC Address
The program can respond on checking results by turning the computer on. To ensure the successful operation of the computer turn on function (Wake-on-LAN), you have to specify the network adaptor's MAC address once for each host. The MAC addresses of active hosts can be gathered automatically or you can enter it manually.Update Host Address in Alert Settings
If you change the host name or address, you can replace this parameter in sensors linked to this host automatically. E.g., a host has had the address 192.168.160.1. This address was used in configured traffic sensors linked to the host. Now, the hosts address changed to 192.168.170.2. To make the sensors connect to the right address, you need to enter the new address in the sensors settings. By selecting this option, the replacement of the "Host name or address" parameter in sensor settings will run automatically.
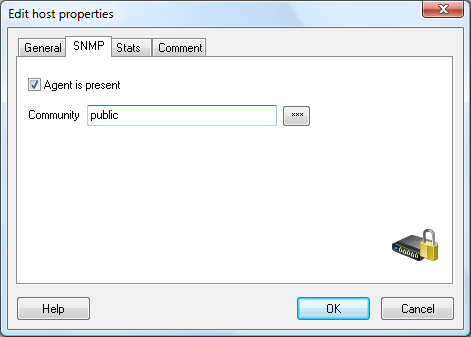
SNMP
On this tab, you can define the default SNMP Community string. Later, the program will substitute the community string to the appropriate field when you add SNMP sensors to the host. This makes the adding of SNMP sensors to the host easier.
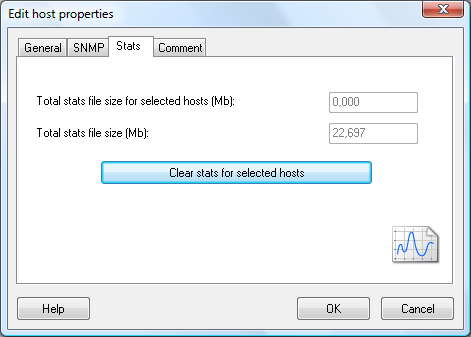
Stats
In the process of polling traffic sensors, the program collects values of inbound and outbound traffic and gathers statistics data. There is a separate file for each sensor in the application data folder: <disk>:\Documents and Settings\All Users\Application Data\10-Strike\Bandwidth Monitor\TStat\. The size of the files always increases. The increment will be about 60 Kbytes per day for each sensor if the polling interval is set to 30 seconds. On this tab, you can view the size of files containing the collected statistics for the selected hosts and the summary size of all the stats files. Here, you can also clear the stats files for the selected hosts by clicking the Clear stats for selected hosts button.
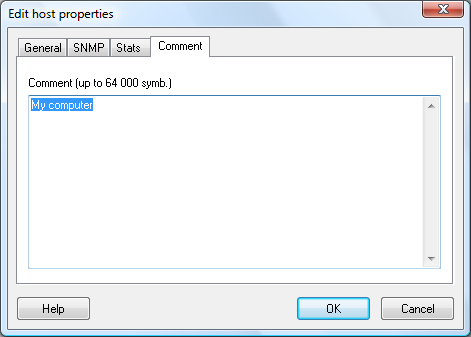
Comments
Each host entry can be accompanied with a user's comment.
When the properties are configured, click ОК to continue. The new host will be added to the list. The new information is saved automatically.
To edit host properties:
1. Select a host on the list.
2. Open the context menu and then select the Edit host item.
3. In window that appears, edit properties you need (see Adding host). Click ОК to save the changes.
All changes are saved automatically and take effect immediately.
To delete a host:
1. Select a host on the list.
2. Open the context menu and then select Delete host item. Confirm the action by clicking Yes in the request that appears.
The selected host will be deleted from the monitoring list. All the sensors linked to the host will be deleted as well.
![]() Forced Polling All Host Sensors
Forced Polling All Host Sensors
To force polling all sensors of a host, without waiting for its turn in the monitoring queue:
1. Select that host on the list.
2. Open the context menu and select the Force poll item.
The polling of all the selected hosts will start immediately.