To display the list of computers in a more convenient form representing the organization structure, the program allows organizing computers into groups. The group editor can be accessed through the menu "Computers Group Editor" or using the toolbar button.
The organization structure can be imported from AD when you scan it for computers. Or, you can create groups and spread computers to these groups manually.
If you use Clients, you can specify the default group in the data.cfg file using the NIEClientCFG.exe program. Thus, preparing multiple data.cfg files with different settings and the Group field value, you can force computers to be automatically placed to their groups (for example, when you collect the data files from various remote companies or branches using FTP or email).
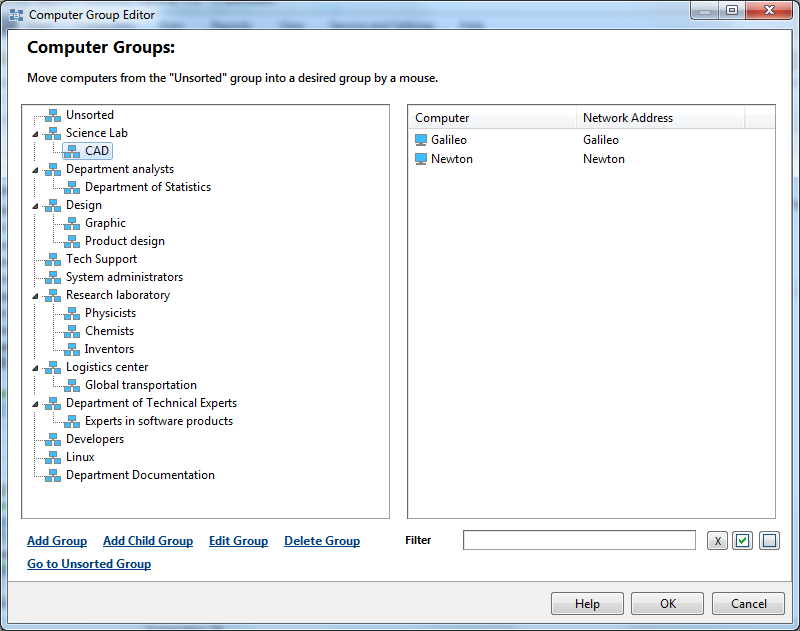
How to create groups and spread computers to them manually:
1. Create groups. The group editing pane is located at the bottom of the editor window. Groups can contain sub-groups.
2. Add computers to groups. For this purpose, select one group and then select computers that belong to it. One computer can only belong to one group.